
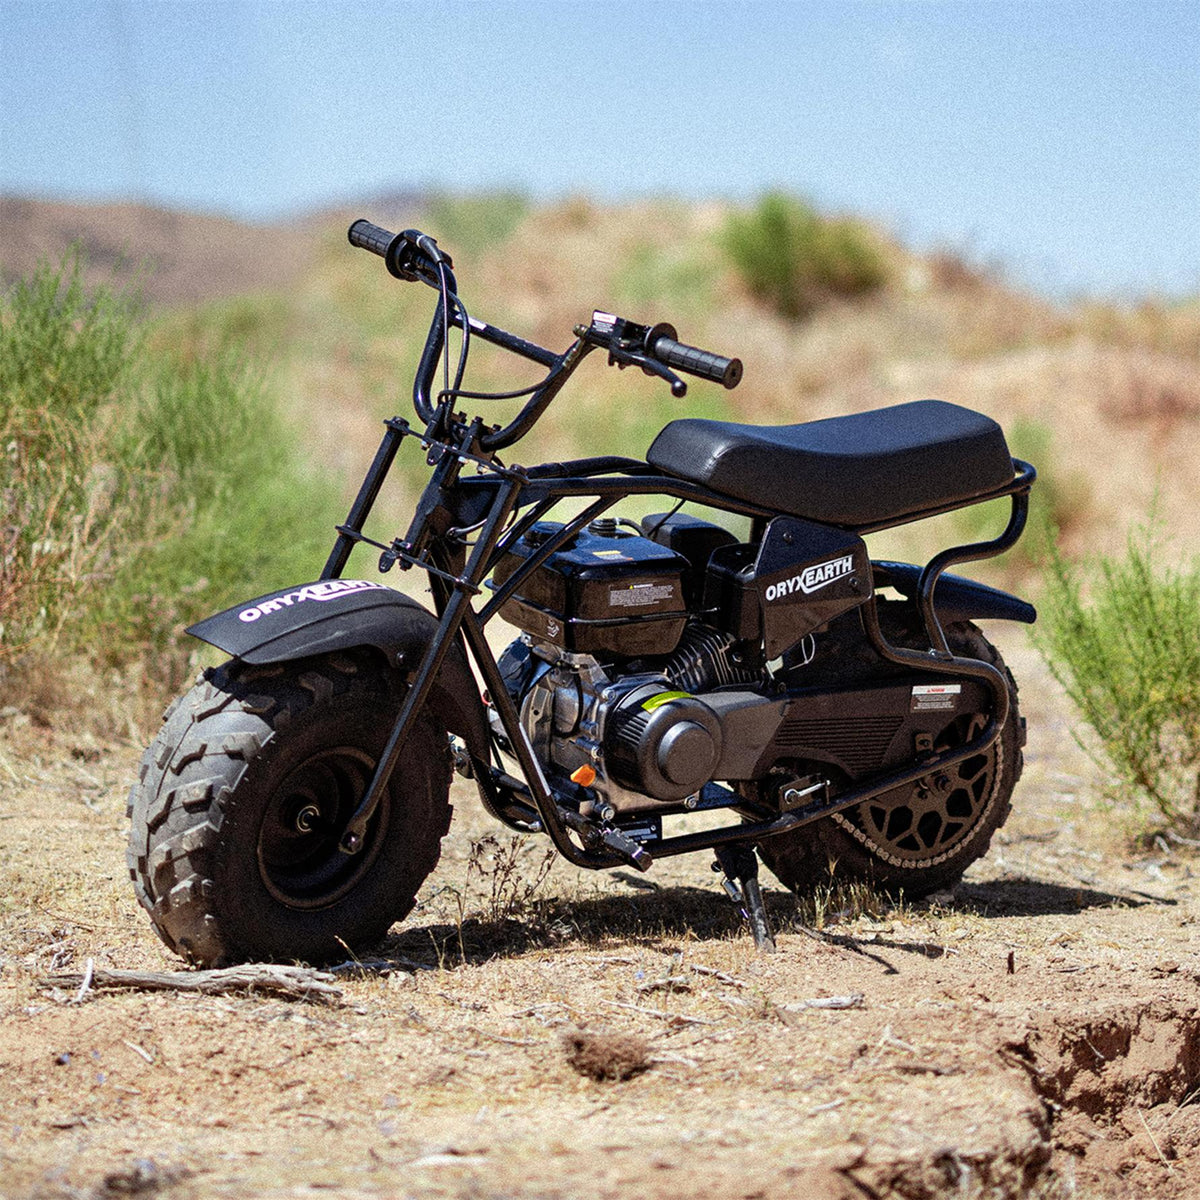
Setting up your mini bike correctly is essential for both safety and performance. Whether you're unboxing a brand-new gas powered model or assembling a kit for the first time, following a proper installation process ensures every component works as intended. This guide walks you through everything you need to know, from gathering the right tools to performing a final safety inspection, so you can hit the trails with confidence.

Check All Mini Bike Parts and Hardware Before Installation
Before you begin putting anything together, take the time to inventory and inspect all the parts and hardware that came with your gas powered model. This step is often rushed or skipped entirely, but it's one of the most important things you can do to ensure a smooth install process.
Start by laying out all the major components on a clean surface. Then compare everything against the parts list in your owner's manual to make sure nothing is missing. Check for any visible damage that might have occurred during shipping, such as bent frame tubes, cracked plastic, or scratched surfaces.

Next, sort through all the nuts, bolts, washers, and other fasteners. Use small containers or a parts tray to keep everything sorted and prevent losing small pieces. Pay special attention to any specialty hardware like lock washers, cotter pins, or C-clips that might be easy to overlook.

Inspect each component carefully before installation. Check that the wheels spin freely and that the bearings feel smooth with no grinding or play. Examine the brake calipers and make sure the pads are properly seated. For the engine, check that all fluids are at the correct levels and that there are no signs of leaks. Verify that the throttle cable moves smoothly and returns to the closed position on its own. Taking these steps before you start assembling ensures you won't discover a problem halfway through the process.
The Step-by-Step Process to Install Your Mini Bike
Now it's time to begin the actual installation of your mini bike. Our mini bike comes 90 % preinstalled from the factory, so the engine and main frame are already fitted. You will only complete the front-end installation following the steps below. Working on a clean, flat surface will keep components secure and help you avoid misalignment.
1.Mount the Handlebars
Start by positioning the handlebar into its correct place. Retrieve the handlebar clamps included inside the tool bag that comes with your unit. Set the clamps over the handlebar to hold it in position, then hand-tighten the bolts. Next, fit the front bolts onto both clamps to secure the handlebar assembly. Once everything sits straight and at your preferred riding angle, fully tighten all clamp bolts. Double-check that the handlebar cannot shift side-to-side before moving forward.
2.Fit the Front Wheel
With handlebars secured, proceed to install the front wheel. Remember to fit spacers on both sides between the fork legs and the wheel hub. These spacers keep the wheel centered and prevent unwanted wobble. As you slide the axle through, carefully slot the disc brake rotor inside the brake caliper. Misplacing the rotor will damage brake pads and cause braking failure. Once the wheel sits correctly within the fork, fasten and fully tighten the axle nut to hold the wheel firmly. Give the wheel a spin to confirm it rotates freely without rubbing against the caliper or fork.
3.Attach Front Mudguard and Adjust Brake Lever
Install the front mudguard onto the fork assembly and fasten its mounting hardware. Ensure it sits clear of the rotating front tire so it will not catch when riding. The final step is adjusting the height of the brake lever. Set the lever to a comfortable position for your hand reach. Test the brake several times: squeeze the lever to confirm firm resistance, and verify the wheel stops reliably when you apply pressure. After adjustment, release the lever and check that it springs back completely without dragging the brake.
How to Inspect a Gas Powered Mini Bike After Installation
Once you've completed the installation, it's tempting to jump on and start riding immediately. Resist that urge and take the time to perform a thorough inspection. This final check ensures everything is properly installed, adjusted, and ready for safe operation.
Start by going over every bolt and fastener you installed during assembly. Check that all critical bolts—engine mounts, axle nuts, handlebar clamps, and brake caliper bolts—are torqued to the correct specifications. Wiggle the wheels side to side to check for bearing play; there should be none. Squeeze the front and rear brake levers to make sure they feel firm and that the brakes engage properly. Check the chain tension one more time and verify that the chain runs smoothly along the sprockets without binding.
Inspect all fluid levels, including engine oil, brake fluid, and coolant if applicable. Look underneath the bike for any signs of leaks that might indicate a loose drain plug or faulty gasket. Check the fuel system by turning the fuel valve to the "on" position and inspecting the fuel line connections for any seepage. If your model has a carburetor, check the float bowl area for signs of fuel leakage. Make sure the fuel cap seals properly and the vent is clear.
FAQs
How long does it take to install a mini bike?
Install time varies by your mechanical experience. Experienced users can finish within 30 to 40 minutes, while new beginners may spend around an hour for careful fitting and adjustment.
Do mini bikes come fully installed?
Our mini bikes are preinstalled for most core structures instead of fully finished. Only the handlebar, front wheel, mudguard and brake lever need simple manual fitting with supplied hardware.
What should I check after installing a mini bike?
First, re-tighten all bolts and the axle nut to avoid loosening during riding. Then test the disc brake performance and adjust the brake lever height for smooth control, and verify the front wheel rotates without rubbing.
Related
How to Ride a Mini Bike for Beginners?
Ride Into Adventure: Exploring the MiniMotorbike Craze
Conclusion
Properly installing your mini bike is a rewarding process that sets the foundation for countless hours of safe and enjoyable riding. Whether you're hitting backyard trails or exploring off-road paths, taking the time to set up your mini bike properly means you can focus on what matters most—enjoying the ride.


Leave a comment
All comments are moderated before being published.
This site is protected by hCaptcha and the hCaptcha Privacy Policy and Terms of Service apply.